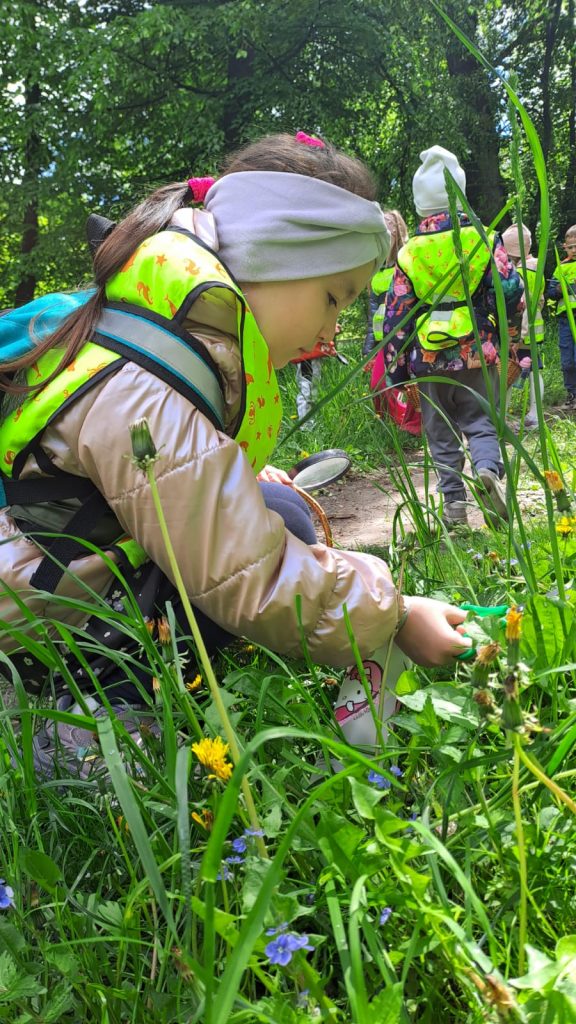
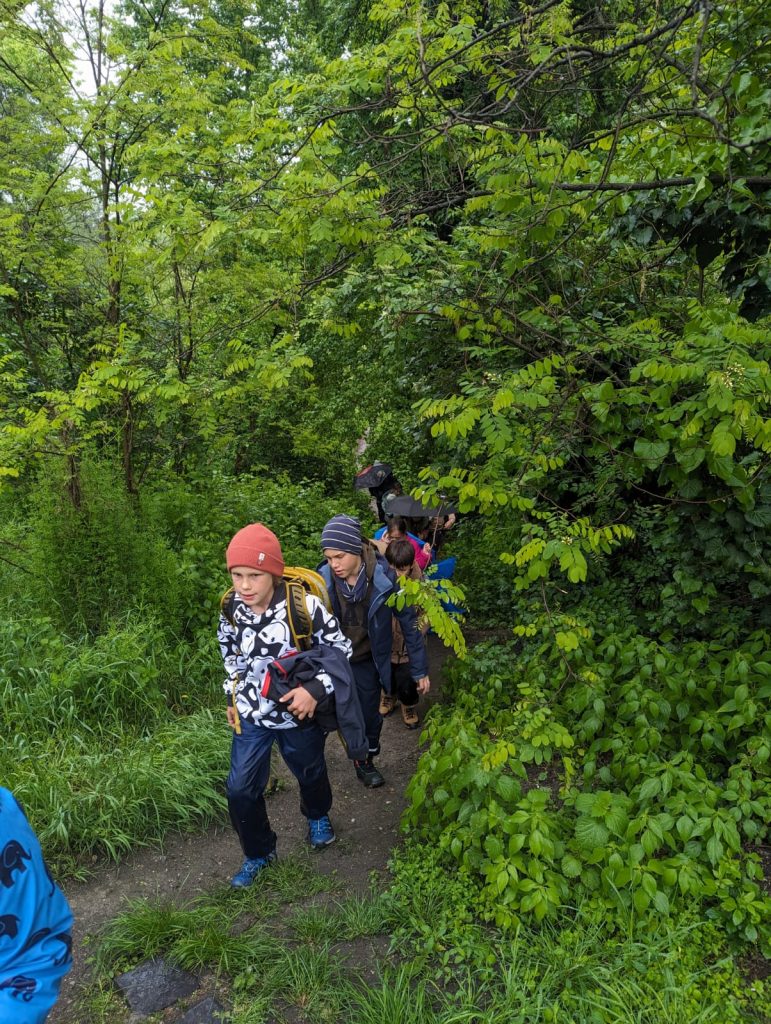
Explore and support ecosystems
This activity contributes to getting to know a specific ecosystem in the local area, and supports the taking of collective action to support/nurture that ecosystem. Knowing the local ecosystem is…
Activity number: 5.2.1
Local cartography
Cartography can help understand and visualize the climate risks inherent to a specific ecosystem and community, as well as the resources (e.g. local knowledge and expertise, as well as possible…
Activity number: 5.2.2

Supporting local climate resilience action
This activity can be taken up by young adults on campuses or in private/public areas with proper authorisations. They enable learners to put into practice what they have learnt about…
Activity number: 5.2.3
CLARITY Competence Area
Taking collective action for climate resilience, ecosystem regeneration, and societal transformation
GreenComp Competence Area
Acting for sustainability
Why use this tool?
This tool introduces activities that can help actively build the climate resilience of the local community and local ecosystems now and in the long run. They contribute to re-building a community of support, and restoring the health of local ecosystems. Besides, this tool fosters agency by increasing the learner’s confidence that they themselves can make a difference. They also build collaborative competences that are critical to pursue collective action in any field.
